Most riders can handle tire pressure, flat-tire repair, chain cleaning, basic lubrication, brake-pad checks, loose bolts, accessory rattles, and simple cleaning at home. The key is knowing when a problem has moved beyond routine maintenance.
DIY E-Bike Maintenance: Simple Repairs Every Rider Should Know
Written by: Chris Van Leuven | June 18, 2026 | Time to read: 7-8 min
Learn DIY e-Bike maintenance basics, including flat-tire repair, tire pressure, brake checks, chain lubrication, battery care, tool use, loose bolts, and when to visit a shop.

More about the Author: Chris Van Leuven
Chris is a writer, climber, and founder of Yosemite E-Biking in Mariposa, CA. When he’s not tackling Sierra Foothills trails or scaling rock walls, he’s crafting adventure stories with his boxer, Fenster. His work has appeared in Outside, Men’s Journal, Gripped, and Best American Sports Writing.
You don’t need a full workshop to take care of an e-Bike. You need a few tools, a little patience, and a good sense of when to stop. That last part matters. A lot.
E-Bikes are still bikes, but they’re heavier, faster, and often more expensive to fix. A soft tire can quickly become a flat. A dry chain can chew through drivetrain parts. Weak brakes can go from annoying to unsafe fast. A loose rack bolt can make the bike sound like it's falling apart. And battery or wiring problems are not the place to prove how handy you are; leave that to a professional.
DIY e-Bike maintenance is really about being ahead of the small stuff. Pump the tires to the right PSI. Clean the chain. Check the brakes. Know how to deal with a flat. Tighten the obvious loose parts. Learn what your bike sounds like when it’s running perfectly, so you notice when something changes.
This blog covers the simple repairs most riders should know, the tools worth keeping on hand, and the problems I’d hand off to a qualified e-Bike mechanic rather than letting them turn into a bigger mess and a waste of your time.
👋 Welcome to Upway!
Upway is your top destination for buying and selling e-Bikes online. Discover your next e-Bike at up to 60% off retail prices, available in new or like-new condition.
Table of Contents
Tools that actually earn their spot
You don’t need every tool on the wall at a bike shop. Most riders are better off with a small kit they know how to use.
I’d start with a tire-pressure gauge, floor pump or electric air pump, tire levers, spare tubes, chain lube, clean rags, hex keys, a small screwdriver, nitrile gloves, and the correct charger for your e-Bike. If you ride a lot, add spare brake pads, a quick link or master link if your chain uses one, and a basic torque wrench for bolts that matter.
A repair stand is nice, especially for chain cleaning and brake checks, but it’s not mandatory. If you do buy one, make sure it’s rated for your e-Bike's weight. A wobbly stand holding a heavy bike is not an upgrade.
Here’s the simple version:
| DIY Task | Tool or part to keep nearby | When to stop and get help |
|---|---|---|
| Add air | Gauge, floor pump, electric air pump | Tire won’t hold pressure or sidewall is damaged |
| Fix a flat | Tire levers, spare tube, patch kit, plug kit if tubeless | Rear hub motor wiring or axle hardware feels confusing |
| Clean the chain | Rag, bike-specific chain lube | Chain skips, cassette looks worn, or shifting stays rough |
| Check brakes | Flashlight, clean rag, spare pads if you know the system | Weak braking, fluid leaks, grinding, or spongy lever feel |
| Tighten accessories | Hex keys, correct bolts | Threads are stripped or the part won’t stay tight |
| Check electronics | Eyes, patience, clean dry connectors | Repeated error codes, damaged wires, battery faults |
The goal isn’t to become the neighborhood e-Bike mechanic; it’s to avoid losing amazing rides to easy problems.
Flat tires and pressure checks
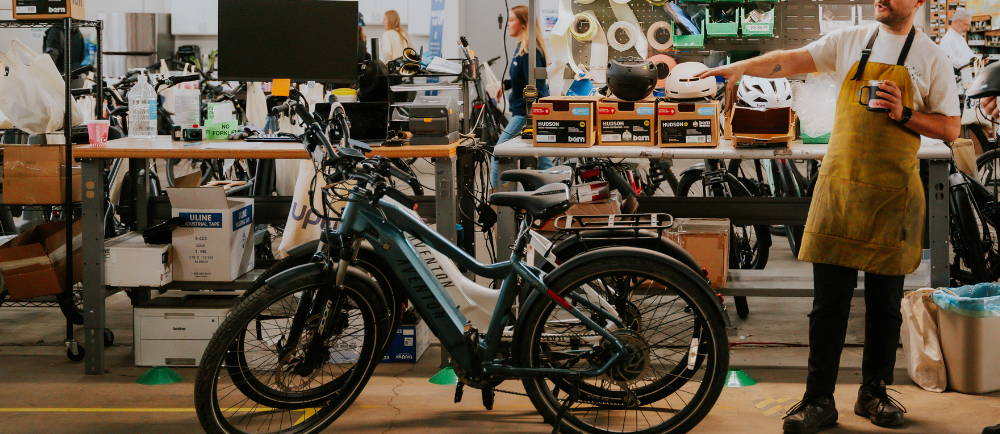
Tire pressure is important. E-Bikes weigh more than regular bikes, and many riders use them for commuting, errands, kids, cargo, and longer days out. Low tire pressure can make the bike feel slow, drain range faster, wear tires unevenly, and increase the chance of flats. Use the PSI range printed on the tire sidewall, then adjust for rider weight, cargo, terrain, and feel. Don’t rely on the squeeze test, especially with fat tires. Some tires still look fine when they’re too soft.
Look at the tread while you’re there. Pull out glass, wire, thorns, or small metal bits before they work their way deeper into the tire. City shoulders, construction zones, gravel roads, and rural lanes are all good places to pick up junk in your tire.
Every rider should know the flat routine. Turn the bike off and remove the battery. Find the cause of the flat before installing a new tube. Check the inside of the tire with your fingers, carefully, because the thing that caused the flat may still be in there. Reinstall the tire evenly and inflate it slowly so the bead seats correctly.
Rear-wheel flats on hub-drive e-Bikes are more work because of the motor cable, axle nuts, washers, and heavier wheel. Take photos before you pull things apart. Don’t yank the motor cable. If the wiring gets tight or the hardware stops making sense, that’s the right time to pause and call your shop. Fixing a flat is normal DIY work. Damaging the motor cable while rushing is expensive to repair at a shop.
Brake checks you shouldn’t skip
Brakes are one of the first things I’d check on any e-Bike. The bikes are heavier, the speeds are higher, and riders often use e-Bikes in stop-and-go traffic, on hills, and with cargo.
Before a ride, squeeze both brake levers. The brakes should engage before the levers get too close to the grips. If the lever feels soft, the bike takes longer to stop, or you hear scraping, grinding, or pulsing, don’t ride around it and fix it.
You can do a few easy checks at home. Look at the brake pads. If they’re thin, uneven, glazed, or contaminated, they need attention. Spin each wheel and listen for rotor rub. Check that the brake caliper isn’t obviously loose. Look at the brake rotor for bends, deep grooves, or oil contamination.
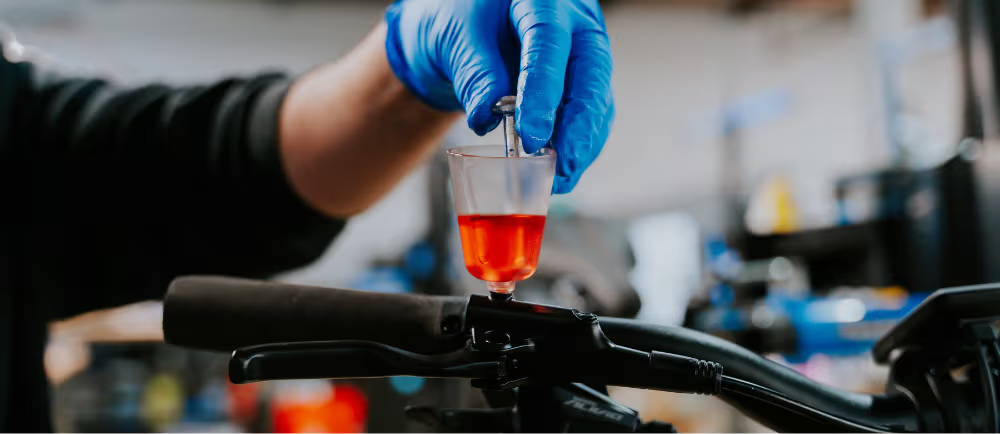
Mechanical disc brakes may allow for small cable or barrel-adjuster tweaks. Hydraulic brakes are different. Pad replacement is doable if you know the process, but brake bleeds, piston problems, fluid leaks, and a lever that keeps feeling spongy are shop jobs for most riders. And keep chain lube away from brake rotors.
Chain, gears, and drivetrain basics
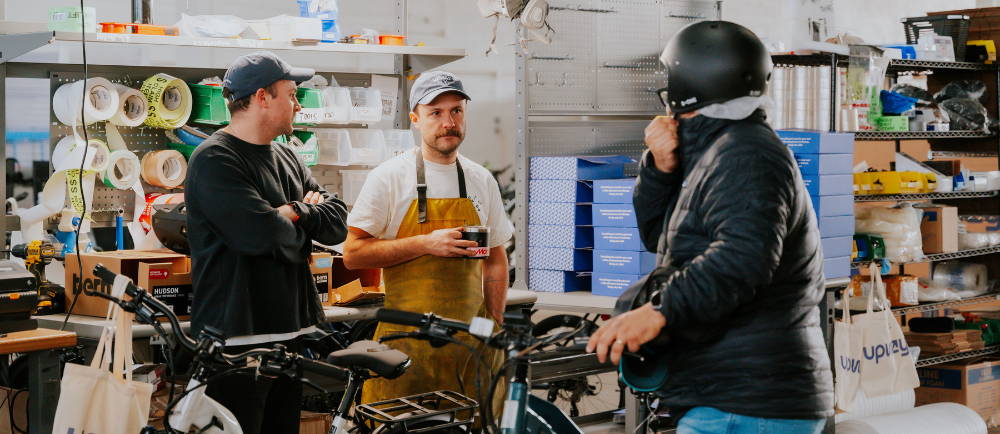
A dry chain gets loud. A dirty chain wears parts faster. A neglected drivetrain shifts poorly and can make the whole bike feel off. On a mid-drive e-Bike, this matters even more because the motor sends power through the chain, cassette, and chainring. On a hub-drive e-Bike, the motor doesn’t load the chain the same way, but the drivetrain still needs care.
Keep it simple. Wipe the chain with a rag. Add bike-specific lube to the rollers. Let it settle. Wipe off the extra. Too much lube attracts dirt and grit, and too little leaves the chain noisy and dry. And use lube that works for your riding. Wet lube can work better in rain and sloppy conditions, but it attracts more grime. Dry lube tends to stay cleaner in dry weather but washes off faster.
Pay attention to how the bike shifts. If it hesitates between gears, skips under load, clunks, or starts making a new drivetrain sound, check the basics: chain condition, cassette wear, derailleur alignment, shifter response, cable tension, chainring teeth, pedals, and crank-area noise.
Don’t force bad shifting. That’s how a small adjustment turns into a worn chain, chewed cassette, or bent derailleur hanger.
Battery care and loose-part checks
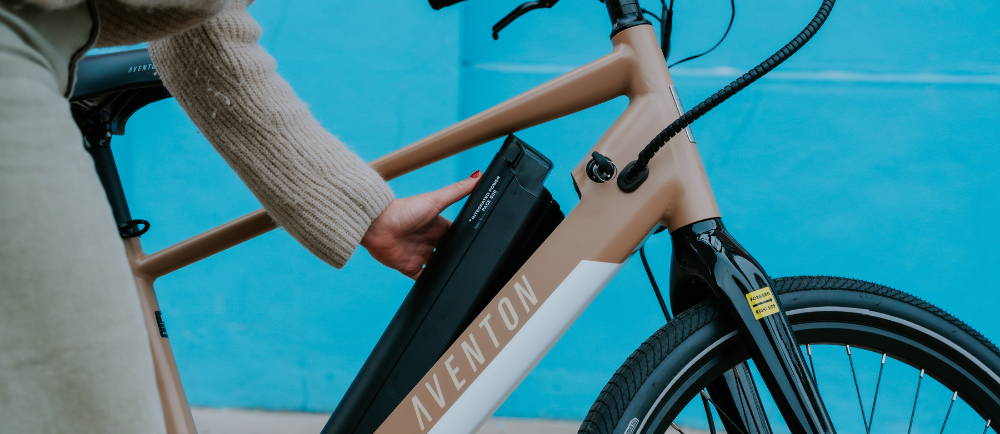
Battery care is mostly about using the correct charger and charging in a dry place. Keep the charging port and battery contacts clean, and don’t store the battery empty for months. Also, don’t leave it baking in a hot car or freezing in a shed if you can avoid it. If the battery is removable and the bike will sit for a while, store it somewhere dry and in moderate temperatures.
Loose hardware is also worth checking. E-Bikes vibrate. Racks, fenders, kickstands, mirrors, baskets, bottle cages, child seats, pedals, and cargo accessories can all loosen over time.
A quick bolt check after rough rides can save you a lot of noise chasing later. Look at the rack, fenders, kickstand, stem, handlebars, pedals, bottle cage, and any accessory you added after buying the bike.
Repairs I’d leave to a shop
DIY maintenance is useful, but DIY confidence can also get expensive. I’d leave hydraulic brake bleeds, persistent brake problems, wheel truing, spoke tension, bearing noise, suspension work, motor issues, controller problems, battery faults, damaged wiring, repeated error codes, and anything affecting steering or stopping to a qualified e-Bike mechanic.
That doesn’t mean you’re helpless. It means you’re choosing the right fight. If you buy a certified pre-owned e-Bike from Upway, you won’t have to deal with that, as it’s undergone a 50-point inspection and comes with a 14-day return policy and a 1-year warranty! Keep the tires inflated, the chain clean, the brakes checked, the bolts tight, and the battery charged. A little attention at home helps the bike stay ready between professional tune-ups.
A good DIY rider doesn’t fix everything. A good DIY rider notices early, handles the easy stuff, and knows when the bike needs to be taken to a professional who works on e-Bikes every day.
Frequently Asked Questions
What e-Bike maintenance can I do myself?
How often should I check my e-Bike tires, brakes, and chain?
Check tire pressure and brakes before rides, especially if you commute, carry cargo, or ride often. Clean and lube the chain when it gets dry, noisy, or dirty. If the bike starts shifting poorly, braking weakly, or making new sounds, don’t wait for the next tune-up.
When should I take my e-Bike to a mechanic?
Take it to a qualified e-Bike mechanic for hydraulic brake bleeds, persistent brake problems, wheel truing, spoke tension, motor issues, battery faults, damaged wiring, repeated error codes, suspension work, or anything that affects steering or stopping.
Key Takeaways
- DIY e-Bike maintenance should start with tires, brakes, chain care, battery habits, loose bolts, and basic flat repair.
- Keep a small toolkit with tire levers, spare tubes, a pump or electric air pump, chain lube, rags, hex keys, spare brake pads, and the correct charger.
- Don’t guess with battery faults, motor problems, damaged wiring, repeated error codes, hydraulic brake issues, or anything that affects stopping or steering.