Tire levers, a set of hex keys, a chain lubricant and degreaser, and a torque wrench cover most of what’s in this guide. None of it needs to be expensive.
Common Electric Bike Fixes You Can Do at Home
Written by: Tom Fortune | July 30, 2026 | Time to read 5 min
A flat tire, a squeaky brake, a loose bolt— none of these need a trip to the shop. Here’s how to sort these e-Bike repairs out yourself.

More about the Author: Tom Fortune
Tom is a Brit living in the French Alps. When he's not creating written and video content for various brands, he's either pedalling or snowboarding around his local mountains. E-Bikes have unlocked the potential for Tom to explore Alpine terrain and get away from the crowded bike parks. He is only too keen to share his knowledge and experience with other riders.

The first two hours of a ten-minute job are the worst. But seriously, some e-Bike problems sound more complicated than they are. Most of the time, you just need a bit of knowledge, patience, and a few basic tools. This guide covers common electric bike fixes you can tackle yourself. I’ll go into the tools and steps for each, and talk about the few things it's worth leaving to a shop.
👋 Welcome to Upway!
Upway is your top destination for buying and selling e-Bikes online. Discover your next e-Bike at up to 60% off retail prices, available in new or like-new condition.
Table of Contents
Fixing a Flat Tire
A flat tire is the most common thing to go wrong on any bike, electric or not.
Start by removing the wheel. On e-Bikes with a hub-mounted motor, removing the rear wheel means disconnecting a wire or two first, or a speed sensor near the axle. If you’re new to this, take a photo before you unplug anything, so you know exactly how it goes back together. You don’t have to do this with a bike with a mid-mounted motor, as it is the same as a regular bike. You just need to make sure the chain is on the smallest cog so you can get the wheel off easily.
Once the wheel’s off, pop the tire bead with tire levers, pull the tube out, and find the puncture. Run your finger carefully along the inside of the tire too, since whatever caused the flat, a thorn, a piece of glass, is often still stuck in there waiting to cause the same problem again.
Patch the tube or replace it with a new one, seat the tire back on the rim, and inflate to the pressure printed on the tire’s sidewall. Reconnect any wires exactly as they were in your photo before you put the wheel back on.
Lubricating and Cleaning the Chain
A dry or dirty chain can be noisy and affect gear shifting, but will also wear out your expensive drivetrain components.
If the chain’s picked up a black, gritty coating, that’s old lube that’s trapped road grime, and it needs degreasing before anything else. Use a rag and a chain-specific degreaser, but if you don’t have any at hand, dish soap and water do the job too.
Scrub it down with a brush, rinse, and let it dry completely. I like to use a chain cleaning tool. This is a device fitted to a can of chain cleaner that clamps around the chain. The chain runs through a bath of cleaning fluid, and the brushes inside clean the chain links as you rotate the pedals (you may need to raise the bike off the ground to do this).
Once the chain is clean, or if it was just dry to begin with, apply chain lube one drop per link while slowly turning the pedals backward. Let it sit for a minute, then wipe off the excess with a rag. Lube left sitting on the outside of the chain just attracts more dirt than it prevents.
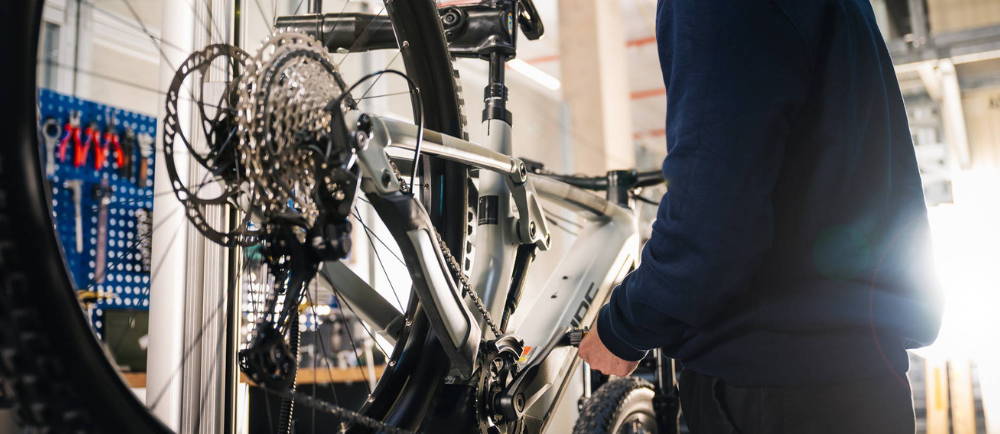
Adjusting the Brakes
Squeaky or weak brakes are usually a five-minute fix, not a trip to the shop.
If the pads have less than about a millimeter of material left, or look glazed and shiny instead of matte, replace them. If the pads are fine but the lever feels spongy on hydraulic brakes, they likely need bleeding, a job that’s doable at home with the right kit but fiddly the first time. On mechanical brakes, a spongy lever usually just means the cable’s stretched, and tightening the brakes at the barrel adjuster or the pinch bolt should sort it out.
Tightening Loose Bolts and Rattles
Rattles are annoying, and they’re almost always something simple.
Work around the bike systematically by using the “M check” method. Start at the front of the bike, and check every part following the shape of an “M” until you reach the rear. This route from front to back should ensure you get to all the bolts, including those for the fenders, rack, kickstand, water bottle cage, stem, and handlebars. It’s best to use a torque wrench, as overtightening a bolt on a carbon frame or component can crack it, and undertightening defeats the purpose entirely. Most manufacturers print the correct torque values right next to the bolt.
Fixing a Loose Display Connector
Assistance cutting out, or a display that won’t turn on often, comes down to a loose connector.
Find where the display cable plugs into the frame, usually near the head tube. That spot flexes every time you turn the handlebars, so it’s the most common place for a pin to work loose or a wire to get pinched. Unplug it, check for corrosion or a bent pin, and reseat it firmly until it clicks. While you’re in there, a full power cycle, off for ten seconds, then back on, clears a surprising number of electronic gremlins on its own.
Updating Firmware
A surprising number of "broken" features get fixed with a firmware update.
Most brands push updates through a companion app over Bluetooth, so check there first if you haven't already. Before you start, make sure the battery's charged to at least 50%. Updates are written directly to the controller or display's memory, and losing power halfway through can corrupt it, sometimes badly enough that the display won't turn on afterward.
Keep the bike and your phone close together and don't ride, move the bike, or turn anything off until the app confirms the update has finished. It can take anywhere from a couple of minutes to a while longer, depending on the bike, and it's easy to assume it's frozen when it's still working underneath. If an update fails partway through and the display won't respond afterward, that's one of the few times a factory reset (if the bike has one) or a shop visit is the right next step.
Adjusting Derailleur Shifting
Shifting that’s hesitant, skips, or won’t reach certain gears is almost always a quick adjustment.
If shifting doesn’t feel right with every gear, the cable has probably stretched, which happens naturally over time. A small turn of the barrel adjuster where the cable meets the derailleur usually fixes it. If the chain won’t reach the smallest or largest cog, or overshoots and drops off the end, that’s the limit screws, marked H and L on the derailleur body. A shifting problem that’s isolated to just one or two gear combinations is more often a bent derailleur hanger than anything else, which needs straightening instead of adjusting the cable at all.
What You Shouldn’t Try at Home
Opening the motor casing or the controller housing is where DIY should stop.
Anything involving the battery other than charging it, replacing cells, resoldering connections, or modifying the battery management system isn’t worth the gamble. Lithium-ion batteries store a serious amount of energy, and getting it wrong can mean a fire, which would certainly ruin your day. A fault that keeps coming back, no matter how many times you fix it, is also a sign something bigger’s going on, and that’s a shop’s job to diagnose properly.
Buying a Pre-Owned E-Bike
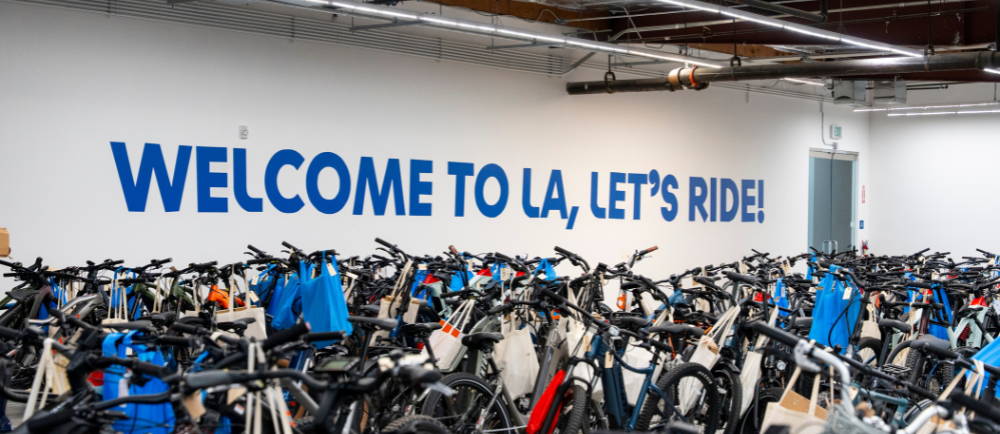
A bike that’s been well maintained looks the same in a listing photo as one that’s been neglected. You will only really know about its reliability once you’re riding it, and by then it’s your problem to fix.
Every e-Bike on Upway goes through a 50-point inspection before it’s ever listed, covering the motor, battery, brakes, and drivetrain. This means you’re not left wondering what kind of maintenance history you’re buying into. Browse the current electric bikes selection, the electric mountain bikes range, the electric city bikes collection, the wider range of used electric bikes, or check the sale collection to compare current options.
Frequently Asked Questions
What tools do I need to do basic e-Bike maintenance at home?
How do I know if a repair is safe to do myself?
If it’s mechanical, tires, brakes, chain, or bolts, it’s generally safe with the right tools. Anything involving opening the motor, controller, or battery casing should go to a shop instead.
Why does my e-Bike display sometimes stop working?
Most of the time, it’s a loose or dirty connector where the display cable plugs into the frame, since that spot flexes constantly while riding. Reseating it usually fixes the problem.
Key Takeaways
- Flats, a dirty chain, brake adjustments, and loose bolts are all reasonable to handle at home with basic tools.
- A loose display connector causes more electrical-looking faults than people expect, and reseating it is often all it takes.
- Anything involving the motor casing, controller housing, or battery internals is best left to a shop, since the risks outweigh the money saved by doing it yourself.