Most commonly, the stem faceplate bolts or stem clamp bolts have worked loose. Less often, it’s a headset that needs adjusting.
How to Fix Loose Handlebars on an E-Bike
Written by: Tom Fortune | June 29, 2026 | Time to read 5 min
Loose handlebars are dangerous and can cause an unexpected high-speed encounter with the pavement, but they are almost always a quick fix. Here’s what to check and how to sort it.

More about the Author: Tom Fortune
Tom is a Brit living in the French Alps. When he's not creating written and video content for various brands, he's either pedalling or snowboarding around his local mountains. E-Bikes have unlocked the potential for Tom to explore Alpine terrain and get away from the crowded bike parks. He is only too keen to share his knowledge and experience with other riders.
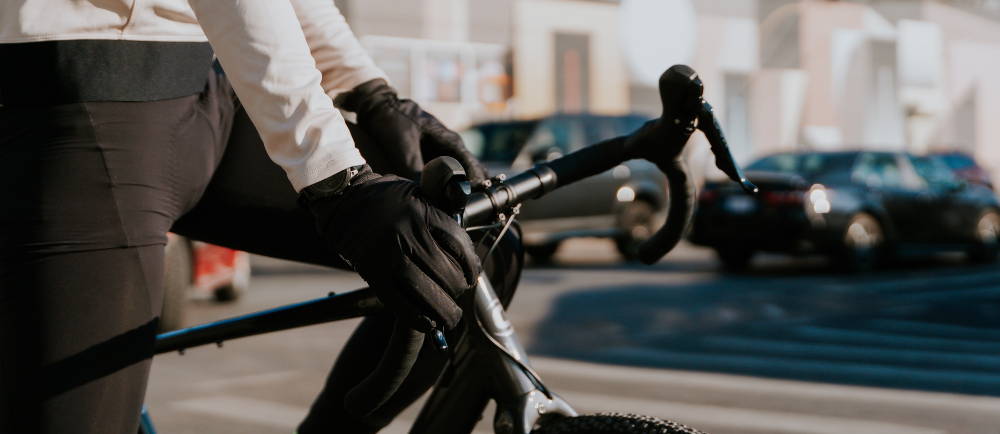
There’s nothing much scarier than turning your handlebars and your bike keeps going straight on at a bend. Actually, maybe riding in a straight line and having your front wheel spin to the side, sending you OTB (over the bars), could be worse. But to a lesser extent, you might also get a slight twist under braking, a creak when you put weight on the bars, or a wobble that wasn’t there last week. The good news is that loose handlebars almost always come down to one of two things, and both are fixable at home in a few minutes with an Allen key.
Table of Contents
Why Handlebars Come Loose
On most modern e-Bikes, the handlebars are attached to the stem via a faceplate and four bolts. The stem itself clamps around the steerer tube of the fork and is held in place by a top cap bolt and two pinch bolts on the side of the stem. Vibration, heavy use, and occasional knocks during transport or storage can loosen these bolts over time.
E-Bikes are heavier, putting more stress on the front end, especially off-road. This extra weight and vibration increase the risk of loose bolts, so check stem torque during routine maintenance.
| What you notice | Likely cause | First move |
|---|---|---|
| Bars twist left or right when you push on them | Loose stem faceplate bolts | Tighten faceplate bolts evenly with an Allen key |
| Bars move forward or back at the stem | Loose stem clamp bolts on the steerer tube | Check and tighten stem pinch bolts |
| Whole front end rocks when you squeeze the brakes | Loose headset, play in the steerer tube | Adjust top cap and tighten stem pinch bolts |
| Creaking under load | Dry or loose contact point at stem or headset | Check all stem bolts, apply grease or carbon paste if needed |
Is It the Stem or the Headset?
Before you start tightening things, it helps to know exactly where the movement is coming from.
Stand over the bike, apply the front brake, and rock the bike. Any movement or clunk means the headset is loose. Next, hold the front wheel between your knees and try to twist the bars. If they move independently, the stem bolts are loose.
Usually, the problem is with the stem bolts. The headset rarely needs attention unless the bike is older or has gone a long time without servicing.
Tightening the Stem Bolts
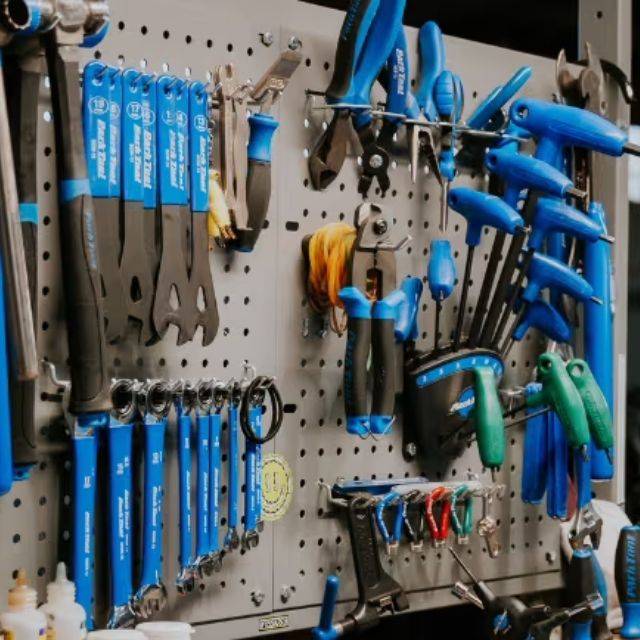
This is the fix you’ll need most often. You’ll need a 4mm or 5mm Allen key, depending on your bike. Check the bolt head size before you start.
On a modern threadless stem, there are two places to check. The faceplate holds the handlebars in the stem and is secured by four bolts arranged in a cross pattern. Tighten these evenly, alternating between them to keep the pressure balanced. Don’t fully tighten one before moving to the next.
The stem clamps to the steerer tube via two pinch bolts on the sides. These need to be firm but not overtightened. Most stems have a torque rating printed on them, typically 5 to 6 Nm for the faceplate bolts and 5 to 7 Nm for the stem clamp bolts. If you have a torque wrench, use it. If you don’t, firm hand pressure is enough, not too tight, not too loose.
If you have an adjustable stem, the pivot point also has its own bolt. Check this too, since a loose pivot can cause the whole bar position to shift under load.
After tightening, check that the handlebar controls, brake levers, and display are still where you want them. If any of them shifted during the process, loosen their clamps, reposition, and retighten.
👋 Welcome to Upway!
Upway is your top destination for buying and selling e-Bikes online. Discover your next e-Bike at up to 60% off retail prices, available in new or like-new condition.
Adjusting the Headset
If the rocking test revealed play in the headset, the fix is slightly different.
Start by loosening the stem pinch bolts slightly so the stem can slide on the steerer tube. Then tighten the top cap bolt at the very top of the steerer tube until the play disappears. Doing this compresses the headset bearings, so go slowly. If you do it too tightly, the steering will feel stiff. Once the play is gone, straighten the bars so they align with the front wheel, then tighten the stem pinch bolts back up firmly.
The top cap bolt does not hold the stem in place on its own. The pinch bolts do. The top cap is only there to set the headset preload. If you tighten the top cap but forget to do the pinch bolts, the stem will still be loose.
Check the alignment by looking along the front wheel and handlebars as a guide. Redo the rocking test, and you’ll see that the play should be completely gone.
Handlebar Height and Position
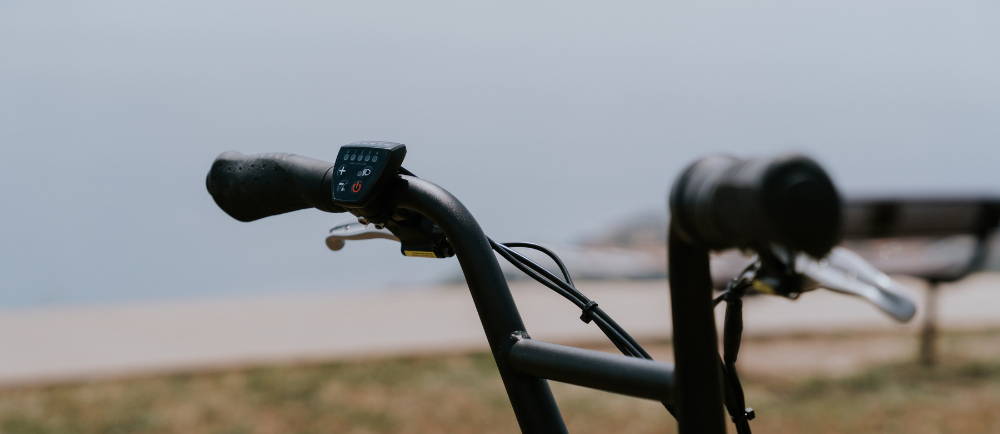
While you have the stem bolts loose, it’s worth checking that the handlebar height and reach are still correct for you. Handlebar height affects how much weight you put on your wrists and lower back, and the right position varies depending on how you ride.
On most e-Bikes, you can adjust handlebar height by adding or removing spacers on the steerer tube, or by flipping the stem upside down if it has a rise. Reach is adjusted by swapping the stem length, which is a bigger job.
For folding e-Bikes with a tool-free adjustable stem, the pivot clamp should be checked regularly. These are convenient but can loosen faster than a standard stem under vibration.
Creaking Sounds and What They Mean
If you get a creak that comes and goes, it's often a contact point that’s dry or slightly loose. On the handlebar and stem, this usually means one of the faceplate bolts needs a touch of carbon assembly paste if you have carbon bars, or copper grease on alloy. Dry metal-on-metal contact creaks. A small amount of the right paste eliminates it.
If the creak is coming from lower down and you’ve already checked the stem, the headset bearings might be dry. This is more involved to fix properly and is best left to a service if you’re not comfortable pulling the fork out.
Don’t ignore a creak that appears under hard braking or heavy load. A sudden failure here can lead to loss of control and a crash. It’s important to keep up with regular maintenance checks to catch these issues before they become dangerous.
When To See a Bike Shop
Everything above is safe to do yourself. If you’ve tightened all the bolts and the play or creak is still there, stop riding and take it to a shop.
Persistent movement after tightening can mean a cracked stem, a damaged steerer tube, or worn headset bearings. A cracked stem, in particular, is not always something you can assess by looking at it. If the bike has taken a hard impact to the front end at any point, get the stem and steerer tube inspected before riding again.
Stripped threads are another serious reason to stop riding. If a bolt spins freely without tightening, the threads are gone, and the component needs to be replaced before you ride again.
Buying a Pre-Owned E-Bike? Here's What to Know
Stem and headset conditions are easy to miss on a quick test ride, and a bike that feels fine at low speed can develop noticeable play under harder braking or on rough terrain. Sellers don’t always know these things need attention.
Every e-Bike on Upway goes through a 50-point inspection before it goes on sale, covering the steering system, stem, and handlebar condition alongside the electrical and mechanical components. Browse electric city bikes, electric mountain bikes, folding electric bikes, or the full range of certified pre-owned e-Bikes on Upway.
Frequently Asked Questions
Why are my e-Bike handlebars loose?
Can I fix loose handlebars myself?
Yes. In most cases, you need only a 4mm or 5mm Allen key and a few minutes. Follow the tightening sequence carefully and check alignment afterward.
What size Allen key do I need to tighten e-Bike stem bolts?
Most stems use a 4mm or 5mm Allen key. Check your bolts before you start, since sizes vary by brand and model.
How tight should stem bolts be?
Most faceplate bolts are rated at 5 to 6 Nm, and stem clamp bolts at 5 to 7 Nm. If you don’t have a torque wrench, firm hand pressure without straining is about right.
Why do my handlebars creak?
Usually, there is a dry or slightly loose contact point at the faceplate or stem. Apply carbon assembly paste on carbon bars or copper grease on alloy, and retighten evenly.
Key Takeaways
- Loose handlebars almost always come down to stem faceplate bolts or headset play. Do the rocking test first to identify which one before touching anything.
- Tighten stem faceplate bolts in a cross pattern and never fully tighten one before moving to the next, since uneven pressure causes creaking and can crack carbon bars.
- If the play or creaking persists after tightening everything correctly, stop riding and take the bike to a shop for someone to check the stem and steerer tube.